
Windows
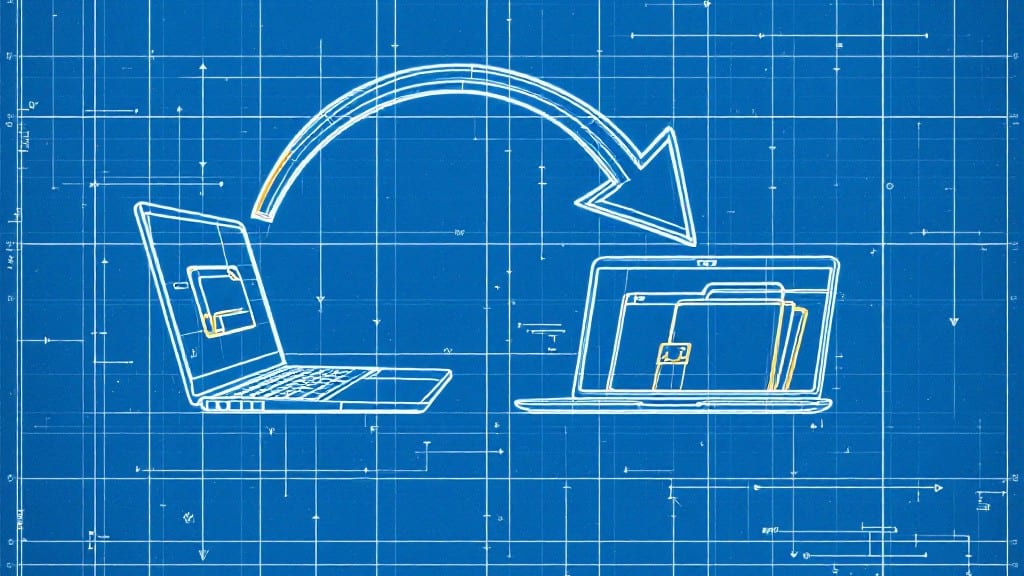
Transferring files to a new Windows 8 computer doesn't have to be a headache—especially when you know the right methods. I've migrated data for dozens of users, and the key is choosing the right approach for your needs.
Whether you're dealing with a simple external drive or a more complex network transfer, Windows 8 actually makes this process surprisingly straightforward.
The simplest method is using an external hard drive or USB flash drive, which works like a charm for most users. Just plug it in, copy your files, and you're done—no fancy tools required.
For larger transfers or multiple machines, Windows 8's built-in network sharing tools let you move files directly between computers without extra software. Cloud storage is another solid option, especially if you're working with limited physical space or need access to your files from anywhere.
You'll want to double-check permissions before transferring anything sensitive, as Windows 8 can sometimes get picky about ownership. I've seen users waste hours troubleshooting because they skipped this step—don't let that be you.
The process takes anywhere from 10 minutes for small transfers to a couple of hours for large libraries, depending on your connection speed and file sizes.
Windows 8's built-in tools handle most transfers smoothly, but if you run into compatibility issues, third-party utilities like Laplink or EaseUS Todo PCTrans can bridge the gap.
Just remember: always verify your backup before wiping the old system. Trust me, I've seen too many people learn that lesson the hard way.
📚 In This Guide
- What you need
- Instructions
- Tips and common mistakes
- Wrapping up and next steps
What you need
- ● New Windows 8 computer – Ensure it’s powered on and ready for setup.
- ● Old computer with Windows 7/8/10 – Must be functional and contain the files you want to transfer.
- ● USB flash drive or external hard drive – Minimum 16GB (32GB+ recommended for large file transfers).
- ● Ethernet cable or reliable Wi-Fi connection – For direct file transfers or network-based methods.
- ○ Windows 8 installation media (optional but helpful) – A USB or DVD with Windows 8 for troubleshooting.
- ● Administrator access – On both computers to install tools or access system files.
- ● Third-party transfer tools – Like EaseUS Todo PCTrans, Laplink PCmover, or Microsoft’s built-in File History.
- ● Cloud storage account – Google Drive, OneDrive, or Dropbox (if transferring via cloud).
- ● USB-to-USB cable or adapter – For direct device-to-device transfers (e.g., USB OTG).
- ● Backup software – Such as Macrium Reflect or Acronis True Image for full-system backups.
Step-by-Step instructions for transferring files to a new Windows 8 computer
Here’s the straightforward method I’ve used to move personal files and settings without losing anything along the way.
Gather the Tools You’ll Need
First, make sure you have both computers ready. The old Windows 8 PC should be fully powered on, and the new computer should be set up with at least a basic Windows installation. You’ll need a USB flash drive with at least 16GB of storage, or a 1TB external hard drive for larger transfers. If your old PC has a DVD burner, a set of blank discs can work too, though it’s slower.
I always check for enough space by opening File Explorer on the old PC, right-clicking the C: drive, and selecting Properties. This tells me how much data I’m working with. For most users, a 1TB external drive handles everything, including documents, pictures, music, and even program files if needed.
Choose Your Transfer Method
Windows 8 makes this easy with built-in tools. If both computers are on the same network, Windows Easy Transfer is the fastest option. Start by opening the Control Panel, searching for Windows Easy Transfer, and selecting This is the old computer. Plug in your USB drive or connect the external hard drive, then choose it as the destination.
If you’re not on the same network, use File History to back up to an external drive first. Open File History from the Control Panel, plug in your drive, and click Turn on. Select your folders—Documents, Pictures, Music, and Videos by default—and let it run until completion. This ensures nothing gets missed during the transfer.
Copy Files and Verify the Transfer
Once the backup is complete, unplug the drive from the old PC and connect it to the new computer. Open File Explorer on the new machine, navigate to the drive, and copy the backed-up folders into their corresponding locations—Documents to Documents, Pictures to Pictures, and so on. This keeps everything organized and easy to find.
To double-check, open each folder on the new PC and compare a few files with the originals. For example, open a recent Word document or photo from both locations to confirm they match. If anything looks off, repeat the transfer process—it’s better to catch issues now than after the fact.
Transfer Programs and Settings (Optional)
If you want to move installed programs, use PCmover (a paid tool) or manually reinstall them on the new computer. For settings like browser bookmarks or email accounts, export them first. In Internet Explorer, go to Tools > Import and Export to save favorites. For Outlook, use File > Open & Export > Import/Export to back up your email.
I always test critical programs after transfer—open your email client, web browser, and any work applications to ensure they function as expected. If something doesn’t work, reinstall it from the original installer or download it fresh from the manufacturer’s website.
Tips & tricks for seamless Windows 8 File transfers
Moving files between computers doesn't have to be stressful—these practical tips will help you avoid common pitfalls and ensure a smooth transition.
Storage Space Check: Before you begin, take 5 minutes to verify your storage needs. In Step 1, when checking the C: drive Properties, pay special attention to the "Used Space" number. If you're transferring large media files, consider using the 1TB external drive mentioned—it's worth the investment for peace of mind. I've seen too many transfers fail because people underestimated their data volume, especially with high-resolution photos or video collections.
Network Considerations: If you're using Windows Easy Transfer in Step 2, make sure both computers are connected to the same network and have their network settings configured properly. Open Command Prompt on both machines and type "ping [other computer's IP]" to test connectivity. This simple check can save hours of frustration if the transfer fails due to network issues. For non-network transfers, I recommend using the external drive method—it's more reliable when network connections are unstable.
File Verification Strategy: When verifying your transfer in Step 3, don't just glance at a few files—create a systematic check. Open 3-5 files from each major folder type (documents, photos, music) and compare their sizes and modification dates. I've caught transfer errors this way that would have gone unnoticed with a quick glance. For photos, zoom in to check for any pixelation or corruption that might indicate transfer issues.
Program Transfer Alternative: If you're hesitant about using PCmover in Step 4, consider this alternative approach: Create a list of all installed programs on your old computer (use Control Panel > Programs > Programs and Features), then manually reinstall each one on your new computer. While this takes more time, it gives you complete control over the process and avoids potential compatibility issues with third-party transfer tools. For most users, this method works just as well without the extra cost.
Pro Tips for Transfer Files To New Computer Windows 8
- Moving files between computers doesn't have to be stressful—these practical tips will help you avoid common pitfalls and ensure a smooth transition.
- Storage Space Check: Before you begin, take 5 minutes to verify your storage needs.
- Network Considerations: If you're using Windows Easy Transfer in Step 2, make sure both computers are connected to the same network and have their network settings configured properly.
Frequently asked questions
Got questions about transferring files to your new Windows 8 computer? You’re not alone! Here are some of the most common concerns—and their solutions—to make your migration smooth and stress-free.
How long does it take to transfer files to a new Windows 8 PC?
The time depends on file size and transfer method. A wired Ethernet connection or USB 3.0 drive can move 1TB in 1-2 hours, while cloud services (like OneDrive) may take longer for large libraries. Wireless transfers (Wi-Fi) are slower—plan for 3-5 hours for 500GB+. Always monitor progress to avoid interruptions!
Can I transfer files without a USB drive?
Try these alternatives:
- Cloud storage: Upload files to OneDrive, Google Drive, or Dropbox (free tiers available).
- Network transfer: Use Windows’ HomeGroup or File Explorer’s “Map Network Drive” feature to copy files over your local network.
- External HDD/SSD: Borrow or buy a portable drive (cheaper than USB flash drives for bulk data).
What if some files are missing after transfer?
Double-check these steps first:
- Verify hidden files are included (enable “Show hidden files” in File Explorer > View).
- Scan for corrupted files using Windows’ built-in chkdsk tool (search “Command Prompt” > type
chkdsk X: /f, replace X with your drive letter). - Restore from backup if you used Windows Backup or third-party tools like Macrium Reflect.
Do I need to reinstall programs after transferring files?
Not always! Most document files (PDFs, Word, Excel) will transfer fine, but software programs (e.g., Photoshop, games) require reinstallation. For licensed apps, keep your product keys handy. Use PortableApps for lightweight, transfer-friendly software. Tip: List installed programs before migrating to streamline reinstallation!
Can I transfer files from Windows 8 to a newer Windows version?
Yes, but with a few caveats:
- Use Windows Easy Transfer** (if available) or User State Migration Tool (USMT) for system files.
- For manual transfers, copy files to an external drive or cloud, then paste them into the new OS.
- Some legacy files (e.g., old email formats) may need conversion tools.
Wrapping up and next steps
Transferring your files to a new Windows 8 computer doesn’t have to be stressful—with the right tools and steps, you can safely migrate your data while keeping everything organized.
Whether you use built-in utilities like Windows Easy Transfer or third-party solutions like EaseUS Todo PCTrans, the key is to plan ahead and verify your backups to avoid any surprises.
Now that you’re equipped with the know-how, take that next step with confidence! Double-check your transferred files and enjoy your smooth transition to your shiny new setup. 🚀