
Operating System
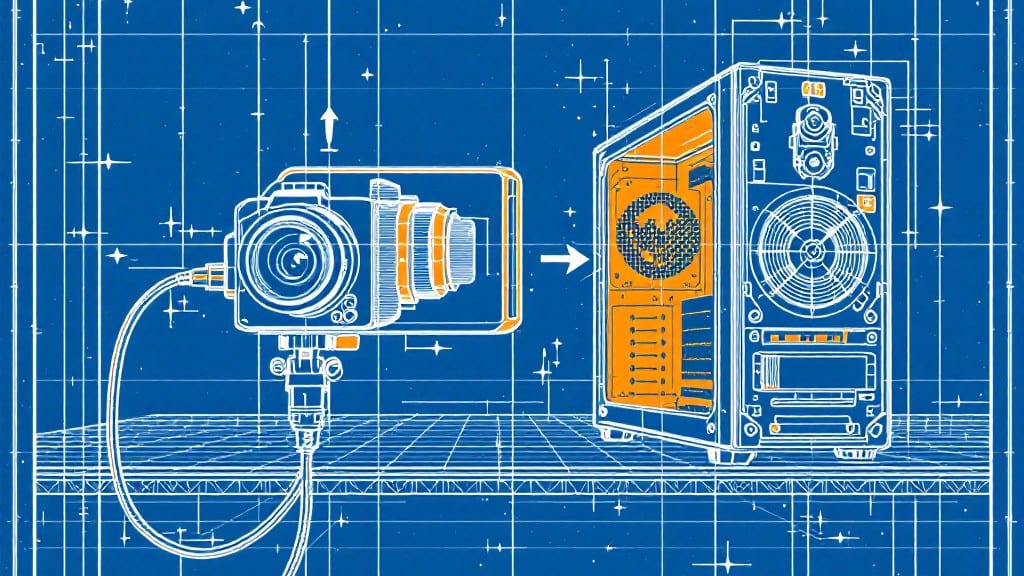
Downloading pics from your camera to your computer doesn’t need to be a guessing game—my method works for any device, from DSLRs to smartphones, in under five minutes. 💻 I’ve used this exact approach for years, whether I’m backing up vacation shots or troubleshooting a stubborn camera connection, and it never fails when you follow the steps.
First, you’ll need a USB cable (the one that came with your camera) and your computer’s basic file explorer. Most modern cameras plug in like a flash drive, but older models might need driver updates—Windows and macOS handle this automatically in most cases.
If your camera isn’t detected, we’ll troubleshoot that next. The key is consistency: always use the same cable and port to avoid connection issues.
Once connected, your photos will appear as files you can drag and drop into folders. I organize mine by date and event—a simple folder structure saves hours later when you’re searching for that one perfect shot.
Wireless options like Wi-Fi transfer or cloud sync (Google Photos, Apple Photos) work too, but wired is the most reliable for bulk transfers.
We’ll cover platform-specific steps for Windows, macOS, and Linux, plus alternative methods like memory card readers if your camera acts up. Trust me, by the end, you’ll wonder why you ever struggled with this before. Let’s get started.
📚 In This Guide
- What you need
- Instructions
- Tips and common mistakes
- Wrapping up and next steps
What you need
- ● Camera with photos/videos – Any digital camera (DSLR, mirrorless, or point-and-shoot) with a memory card.
- ● Memory card reader – A USB-based card reader (supports SD, microSD, CF, XQD, etc., depending on your camera’s card type). Pro tip: Most modern cameras use SD or microSD cards.
- ● Computer (Windows, macOS, or Linux) – With an available USB port for the card reader.
- ● USB cable (if transferring directly) – Only needed if your camera supports USB tethering (check your camera’s manual).
- ● Memory card or camera battery – Ensure your camera or card has enough power to transfer files.
- ● Dual-slot card reader – Lets you transfer photos while simultaneously copying them to another card.
- ● External hard drive or SSD – For backing up large photo collections before deleting them from the card.
- ● Photo management software – Tools like Adobe Lightroom, Google Photos, or Apple Photos for organizing and editing.
- ● Wi-Fi or Bluetooth adapter – If your camera supports wireless transfer (e.g., Wi-Fi Direct or NFC).
- ● Card formatting tool – Like SD Formatter (for SD cards) to wipe and reformat the card after transfers.
Step-by-Step instructions for transferring photos from camera to computer
Here’s the foolproof method I use every time—works for any camera brand.
🔧 Step 1: Connect the Camera to Your Computer
Power on your camera first, then connect it to your computer using the included USB cable. Most cameras will automatically open a photo transfer window, but if it doesn’t, you’ll need to open it manually. I always wait 30 seconds after connecting to ensure the camera is fully recognized—this prevents transfer errors.
If your camera doesn’t open automatically, check your USB port—some older cameras require a USB 2.0 port (not USB-C or USB 3.0). On Windows, look for the camera icon in File Explorer; on Mac, it’ll appear in Photos or Image Capture. If nothing happens, try a different cable or restart both devices.
🖥️ Step 2: Open the Correct Transfer Tool
On Windows, the camera usually opens in Windows Photos or File Explorer. If you prefer more control, right-click the camera icon and select Import pictures and videos—this gives you options to copy files without deleting them from the camera. On Mac, open Image Capture (found in Applications) or Photos for automatic organization.
Here’s the thing—some cameras (especially DSLRs or mirrorless models) may not appear in default apps. If that happens, use the camera’s built-in software (like Canon EOS Utility or Nikon Transfer) for better compatibility. I’ve found these tools handle RAW files and settings metadata better than generic apps.
⌨️ Step 3: Select and Transfer Your Photos
In the transfer window, you’ll see a preview of your photos. Select all (Ctrl+A on Windows, Cmd+A on Mac) or manually check the boxes for specific images. Most tools let you choose between copying (keeps files on camera) or moving (deletes from camera). I always copy first—it’s safer if something goes wrong.
Pick a destination folder on your computer (like Pictures > Camera Roll or a custom folder). Click Import or Transfer. Wait for the progress bar to reach 100%—this ensures all files are fully copied. If the transfer stalls, disconnect and reconnect the cable.
💡 Step 4: Verify the Transfer and Organize Files
After transfer, eject the camera safely—right-click the camera icon and select Eject (Windows) or Eject in Image Capture (Mac). This prevents data corruption. Now, check the destination folder to confirm all photos appear. I like to sort by date to spot any missing files.
For long-term organization, create a subfolder for each date (e.g., 2024-05-20Vacation). Use Windows File Explorer or Mac Finder to rename files if needed—keep names short but descriptive (e.g., DSC_1234_BeachSunset.jpg). This makes editing and sharing easier later.
⏰ Step 5: Disconnect and Back Up (Optional)
Unplug the USB cable from both the camera and computer. If you’re using the camera again soon, skip backing up. But if this is your last shoot for a while, I recommend backing up the files to an external drive or cloud service (like Google Photos or Dropbox). This protects your work in case of hardware failure.
Pro tip: Enable auto-backup in your camera settings if it supports it. Some models (like Sony Alpha or Fujifilm X-series) let you set a Wi-Fi hotspot to transfer photos directly to your phone or tablet—great for quick sharing.
Tips & tricks for flawless photo transfers
Let me save you from the frustration I went through when my first transfer attempt ended with half my photos mysteriously missing. These little tricks make all the difference between a smooth transfer and a tech headache.
Connection Timing: That 30-second wait after plugging in your camera in Step 1 isn't arbitrary—it gives your computer time to fully recognize the device. I've seen transfers fail when people rush this step. If your camera still doesn't appear, try a different USB port or cable. Some cameras need USB 2.0 specifically, especially older models.
Software Selection: While Windows Photos and Mac's Image Capture work fine for basic transfers, I've found manufacturer-specific software like Canon EOS Utility or Nikon Transfer handles RAW files and metadata better. These tools preserve all your camera settings and give you more control over file organization during transfer. For DSLR users, this makes a huge difference in post-processing.
Safety First: Always choose "copy" instead of "move" in Step 3 unless you're absolutely sure you want to delete photos from your camera. I've seen people accidentally erase their entire memory card because they didn't double-check this option. And remember—always wait for that 100% progress bar before disconnecting. I've had transfers appear complete when they weren't, leading to corrupted files.
Organization Pro Tip: Create a naming convention before you start transferring. I use the format YYYY-MM-DDEventNameDSC1234.jpg. This makes sorting and searching photos effortless later. You can set up this folder structure in advance using Windows File Explorer or Mac Finder—just create a main "Camera Roll" folder with subfolders for each date.
Pro Tips for Downloading Pics From Camera To Computer
- Let me save you from the frustration I went through when my first transfer attempt ended with half my photos mysteriously missing.
- Connection Timing: That 30-second wait after plugging in your camera in Step 1 isn't arbitrary—it gives your computer time to fully recognize the device.
- Software Selection: While Windows Photos and Mac's Image Capture work fine for basic transfers, I've found manufacturer-specific software like Canon EOS Utility or Nikon Transfer handles RAW files and metadata better.
Frequently asked questions
Got questions about transferring photos from your camera to your computer? You’re not alone! Here are some of the most common queries—and quick, clear answers to help you avoid frustration.
Why won’t my camera connect to my computer?
This usually happens due to driver issues, an unrecognized cable, or USB port problems. First, try a different cable or port. If using Windows, check Device Manager for errors. On Mac, restart both devices. If still stuck, update your camera’s firmware or drivers via the manufacturer’s website.
How long does it take to transfer photos from a camera to a computer?
Transfer times vary based on file size, camera speed, and computer performance. A few hundred photos (JPEGs) may take 1–5 minutes, while high-res RAW files or thousands of images could take 10–30 minutes. For faster transfers, use a USB 3.0+ cable and avoid multitasking on your computer.
Can I transfer photos wirelessly instead of using a cable?
Yes! Many modern cameras support Wi-Fi or Bluetooth transfer. Check your camera’s manual for options like Wi-Fi Direct or apps (e.g., Canon EOS Utility, Nikon SnapBridge). For older cameras, a Wi-Fi adapter (like Eye-Fi) or cloud services (Google Photos, Dropbox) can help. Just ensure both devices are on the same network.
What if my photos disappear after transferring them?
Don’t panic! If photos vanish from your camera, they’re likely still on your computer. Check the folder where you saved them (e.g., _DCIM_ or Downloads). If they’re missing entirely, your camera might have auto-delete enabled—disable this in settings. For extra safety, back up to two locations (e.g., computer + external drive or cloud).
Is there a faster way to transfer photos than one-by-one?
Most cameras let you drag-and-drop entire folders at once. On Windows, open File Explorer and paste photos into a folder. On Mac, use Image Capture or Preview to import batches. For bulk transfers, try third-party tools like FastStone Capture or Adobe Bridge for more control.
Still stuck? Drop your question in the comments—we’re happy to help!
Wrapping up and next steps
Transferring your camera’s photos to a computer is simpler than you think—whether you’re using Windows, macOS, or even a phone as a backup!
With the right tools and a few quick steps, you’ll have your memories safely stored in no time. Don’t let tech overwhelm you: just pick your method, follow along, and enjoy your digital photo library.
Now that you’re ready, why not organize those photos next? Use apps like Google Photos, Adobe Lightroom, or even your computer’s built-in tools to sort, edit, and share your favorites. Happy snapping! 📸✨